
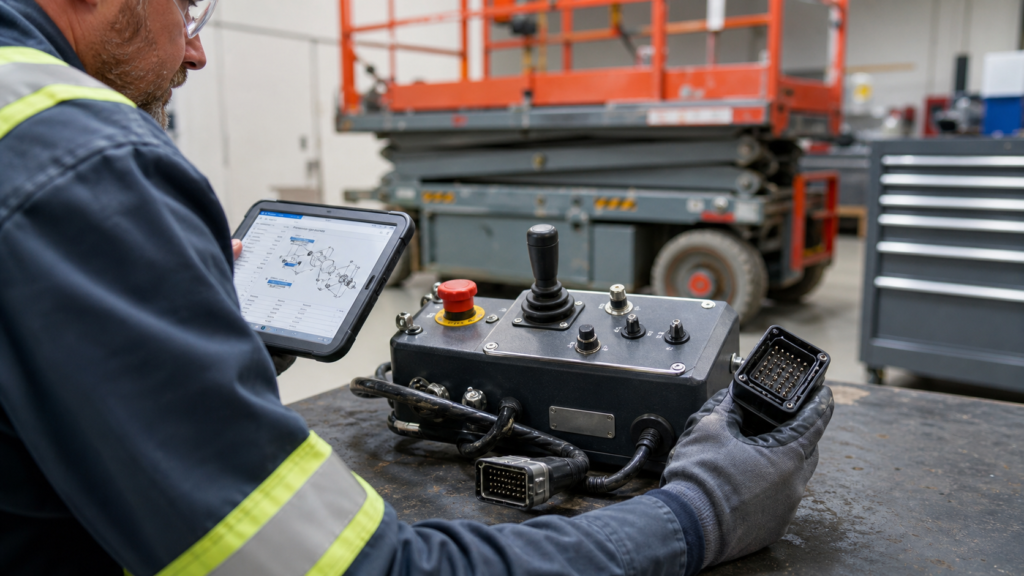
A platform control box is one of the most visible parts of an aerial work platform, but it is also one of the easiest components to identify incorrectly. Two control boxes may have a similar joystick and emergency-stop button while using different connectors, software configurations, control labels or serial-number ranges.
Before ordering a replacement, the safest approach is to identify the machine and compare the complete control unit—not only the number of switches on the front panel. The checklist below applies to scissor lifts, boom lifts and vertical mast lifts from brands such as JLG, Genie and Haulotte.
1. Record the Complete Machine Model and Serial Number
Start with the machine data plate. Record the full model designation and complete serial number exactly as shown. A shortened model name is often not enough because manufacturers may change electrical components during a production run.
Genie advises parts users to have the model and complete serial number available when using its Smart Parts lookup system. Haulotte’s ETI LITE documentation can also be accessed by model or serial number. These manufacturer tools help narrow the parts information to the correct machine configuration.
2. Confirm the OEM Reference and Any Supersession
Check the label on the original control box, the machine parts manual and the manufacturer parts lookup. Record every visible number, including suffixes. A letter suffix or replacement number may identify a later revision rather than a completely different component.
Do not assume that a number printed on a joystick, switch or internal circuit board is the complete control-box number. Those numbers may identify only the individual component. The correct ordering reference should match the complete assembly shown in the relevant parts list.
3. Compare the Entire Control Layout
Photograph the control panel from directly above and compare the position and type of every operator control:
- Joystick quantity, direction and gate pattern
- Emergency-stop button location
- Lift, drive, steer and function selector switches
- Key switch or enable switch
- Display, battery indicator or warning lamps
- Horn, auxiliary or platform-level controls
- Control labels and symbol arrangement
A replacement panel should be checked as a complete operator interface. A control box that looks close but has a different switch function can be unsuitable even when the housing dimensions are similar.
4. Inspect the Cable Harness and Connectors
The connector is one of the most useful identification details. Take clear photographs of the connector face, side profile, locking mechanism and cable entry. Also record:
- Number of connectors
- Connector housing shape and keying
- Pin or socket arrangement
- Locking clip, latch or threaded collar
- Cable length and branch layout
- Any adapter fitted to the original unit
Pin count alone does not prove compatibility. Two connectors can have the same number of positions but different keying or circuit assignments. Do not modify wiring or move pins without the correct manufacturer schematic and a qualified technician.
5. Verify Voltage and Control-System Version
Confirm the machine system voltage and the control-system family shown in the service documentation. Some platform control units contain only switches and wiring, while others communicate with machine controllers or require a particular software or calibration version.
If the original box has an electronic module, display or controller label, include a close-up photograph. The machine serial number, controller revision and harness configuration may all affect compatibility.
6. Send a Complete Photo Set
A useful identification request should include more than one product photo. Send:
- Machine data plate
- Complete front view of the platform control box
- Rear and side views of the housing
- Part-number and controller labels
- Connector face and pin layout
- Cable and harness arrangement
- Any damaged areas or modified wiring
Good photographs reduce back-and-forth communication and help identify differences that may not appear in a short part description.
7. Use an Ordering Checklist
| Item to Confirm | Why It Matters |
|---|---|
| Machine model | Separates different lift families and platform types |
| Complete serial number | Identifies production range and electrical revision |
| OEM reference | Connects the unit to the correct parts-list assembly |
| Control layout | Confirms operator functions and switch arrangement |
| Connector details | Checks physical keying, pin layout and harness version |
| System voltage | Prevents an electrical specification mismatch |
| Old-unit photographs | Provides visual evidence for final comparison |
Examples of Platform Control Units
ISLAND supplies compatible replacement aerial lift parts and supports identification by OEM reference, machine information and photographs. Examples include the compatible Haulotte platform control box 4000306220 and the compatible JLG platform joystick control box 1001091153.
You can also browse replacement parts by brand:
Final Recommendation
Never select a platform control box from appearance alone. The most reliable identification combines the machine model, complete serial number, OEM reference, connector layout, control functions and clear photographs of the original unit.
If you are uncertain, send ISLAND the machine data plate, old control-box photos and connector details through the contact page. We can compare the available information before preparing a quotation.